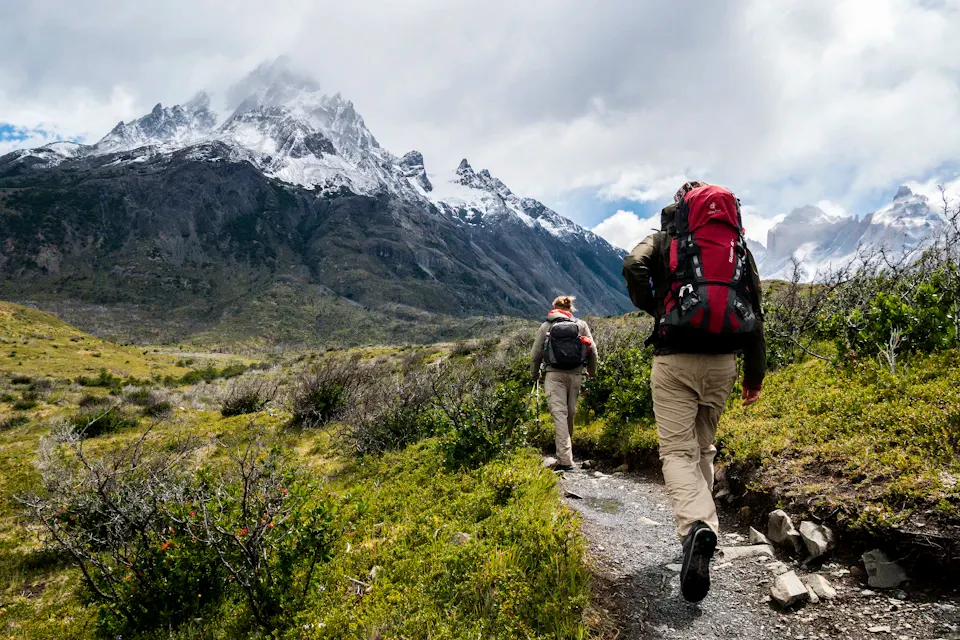
Give your trip a cover
Find the composition, adjust the color, then add a title.
- Crop
- Adjust
- Annotate
 ClixMagic
Crop a JPEG, PNG or WebP with a freeform selection, exact pixels, common aspect ratios or shape masks. Move and resize the selection, check the edges and export without uploading the image.
Crop, adjust, annotate, then export. Keep every edit in one workspace.
Start with: CropSwitch tools anytime
Static JPEG, PNG and WebP. Up to 25 MiB / 24 megapixels each; 16 images / 80 MiB / 96 megapixels total. Download before leaving: the workspace does not autosave.
Images stay in this browser. Supports JPEG, PNG and WebP. Leaving clears your workspace, so download your results before you go.
Start with the destination, then define the frame with a ratio, exact pixels or a shape.
Back to cropOpen a JPEG, PNG or WebP and decide where the result will be used. Check the destination's aspect ratio and minimum pixel dimensions before setting the crop.
Choose Freeform, 1:1, 4:5, 16:9 or a shape. Drag to move and resize the selection, or enter exact left, top, width and height values. Keep important faces, text and product details away from the edges.
Generate the crop and confirm that the subject remains complete. Export the result, keep the original and use resize or compression only when the destination also requires different dimensions or file size.
Understand the differences between framing, dimensions, formats and export behavior.
How to crop an image: aspect ratios, pixels and compositionNo. Cropping keeps one area and removes the rest, changing the composition. Resizing scales the full image. Crop when the frame needs to change; resize when the composition is already correct but the dimensions are not.
Resize the full image when you need new dimensions without removing any part of the frame.
Use an aspect ratio when the destination specifies a shape such as 1:1, 4:5 or 16:9. Use exact pixels when it specifies width and height. A ratio controls the frame shape; pixel dimensions control the actual output size.
Yes. Shape crops can create transparent corners, so export as PNG or WebP when that transparency must be preserved. A JPEG export fills transparent areas with the selected matte color.
File size depends on format, dimensions and image detail, not only the visible area. A PNG crop can be larger than a JPEG source. Inspect the crop first, then use image compression if the destination has a file-size limit.
Use image compression when the destination has a file-size limit.
Combine tools for a cover, shop images or a visual story. Here are three ways to start.
Find the composition, adjust the color, then add a title.
 1:1
Match sizes and borders, then add your own brand mark.
Arrange a strip or grid and use annotations to connect the details.
Your images, editing history and exports stay together in this workspace.
Try it in the workspaceChoose files, drag them in or paste an image. Try the sample if you want to explore first.
Set the composition and size, then adjust colors, annotate or watermark. Switch tools on the same image and undo applied changes.
Compare with the original, then choose PNG, JPEG or WebP. Download multiple results as a ZIP and save them before leaving.
Questions about your images, privacy and exports.
Need a hand? Contact supportThe basic image editor is free and needs no account. Cropping, adjustments, annotations and batch exports run in your browser without using cloud image credits.
This workspace processes your images in the current browser without uploading them. Download your results before leaving or refreshing; the workspace does not autosave.
Use static JPEG, PNG or WebP images. Each image can be up to 25 MiB, 24 megapixels and 12,000 pixels per edge. A session supports up to 16 images, 80 MiB of source files and 96 megapixels total. Animated images, HEIC and PDF are not supported.
Yes. Switch tools in the editor to keep working on your current image. Undo, redo and restore are available, with up to 12 history steps, fewer under memory pressure. Saved text and shapes remain editable until a pixel edit flattens them into the image.
Choose PNG or WebP for transparency, or JPEG with a quality setting for photos. JPEG fills transparent areas with the matte color. PNG does not use a quality setting, and the editor reports when a file-size target cannot be met.
Use a solid cover in the Redact tool and inspect the exported result. Blur and pixelation may leave details recognizable, so use solid covers for passwords, account numbers and other sensitive text.
Try the sample or bring an image into the workspace.